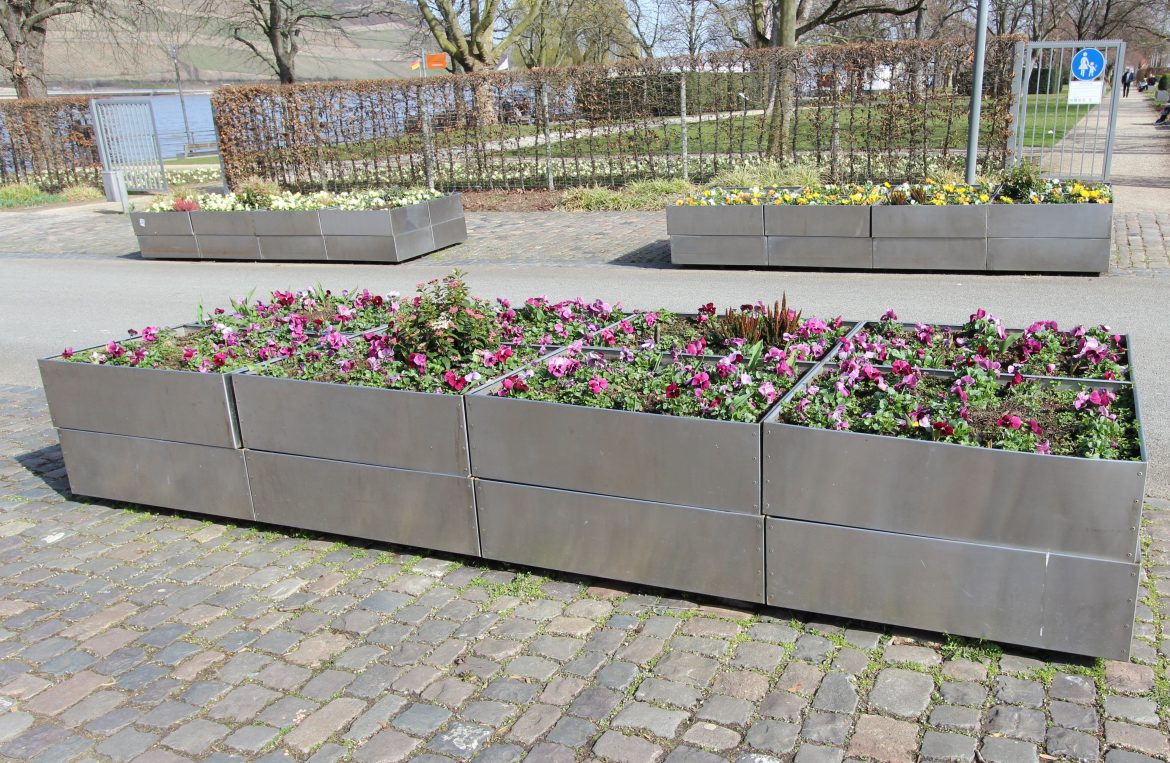
Is growing vegetables one of your favorite hobbies? Do you love the feeling of seeing them grow to food from seed? Notably, it’s great that you know exactly where they come from. We have had many people ask for DIY metal raised garden beds, which urges us to share the tutorial below.
Guide to Making Your Raised Garden Beds with Metal
Preparation
Items needed to make one bed:
- 4″ x 8′ x 1 – 4″ metal flashing piece. It’s cut into sections (4 – 22″).
- 3″ x 8′ x 4 – 2″ wood pieces. You can use redwood for the box frame.
- 4″ x 8′ x 2 – 3″ wood pieces. Rip them in half to prepare for the decorative top of the box.
- 2 – 3′′ x 4′′ x 8′ corrugated metal pieces. If you can’t cut the metal, use the Corrugated Garden Bed Kit. It is a convenient kit used explicitly for metal raised garden beds. It’s readily available on the market.
Optional components
- 4×4′ poultry netting for the box bottom. It is useful for preventing animals from your box’s tunneling.
- Drip tube.
- Soil Conditioner.
Things to Note
You should keep these things in mind before beginning to make your metal raised garden beds.
- Corrugated metal is tough to cut. Two people are needed to do this job, and you must wear safety glasses. You can buy a skill saw blade solely dedicated to cutting metal.
- For structural purposes, you need to set the corrugated metal vertically.
Steps To Build Your Garden Bed
Step 1: Cut the supplies. It will be necessary for you to divide the metal flashing as well as the corrugated metal into four sections (each with 22″). Split the redwood prepared into eight 48″ parts. For the redwood of the decorative box top, you will cut it into four 48″ pieces ripped in half to improve its looks. Remember, though pressure treated lumber isn’t in use here, you’re welcome to use it.
Step 2: Use four of the 2″ x 3″ x 4′ wood pieces to make the box’s bottom frame. As soon as you cut corners so that they fit together, they can be secured together with the use of deck screws. Before using the screws, drill pilot holes to prevent the wood from cracking near the ends.
Step 3: The next step is, you fasten the metal flashing to the corners of the boxes’ bottom frame. Doing this with two people will be easier.
Step 4: For the corrugated metal, this is easier with two people again. One sits inside the box while the other sits outside with a right angle. That way, the metal will be straight before you screw it in place.
Step 5: After you secure the corrugated metal, flip the planter over so that the metal can fit inside of the other box frame. Secure that by using deck screws.
Step 6: You can secure the poultry netting to the box bottom with a staple gun. Doing so will ensure animals couldn’t tunnel under the boxes.
Step 7: Secure the top decorative frame to your box after flipping the box back over. With this, the box will be more polished, and you will get a place to put your garden supplies or sit.
Step 8: After you’ve secured the top, carry the planter outside and pull your drip tube through the poultry netting. Then, fill the boxes using garden soil. Remember to make sure the drip tube stays at the top.
How to Fill the Garden Box
After finishing your metal raised garden beds, it’s ideal to wait a day or so before you plant seeds. You may think about which amendments of soil (if any) you want to add and which are the best plants you should grow in the same box.
Some people will use soil to fill the whole garden bed. Others would like to place recyclable items at the bottom of their cardboard boxes, bottles, first–empty milk containers, etc. It facilitates drainage and your budget in soil.
Bear in mind that after filling your garden box with soil, you will find it to compress. Just wait a day or two and use some more dirt to make it full before you start planting.
Conclusion
Anyone can be gardening newbies when they start. You need to do some research beforehand and learn from experience. It is also the case for developing metal raised garden beds. The project is one of the most exciting DIYs we have done. It’s possible for you to use them for a herb garden, a traditional vegetable garden, etc. With the comprehensive guide above, they’re pretty easy to make!


